On this page
Step one: PreparationStep 2: Create projectStep 3: Edit linglong.yamlStep 4: Building applicationsStep 5: Test running applicationStep 6: Export layer fileStep 7: Test try Installation layer DocumentationSummary This article is built with desktop-entry-editor For example, this project has relatively simple dependencies and only needs the basic operating environment provided by default in Linyaps official documentation to successfully build and run.
Step one: Preparation
Execute in terminal
sudo apt install linglong-builder --no-install-recommends
Installation ll-builder tool
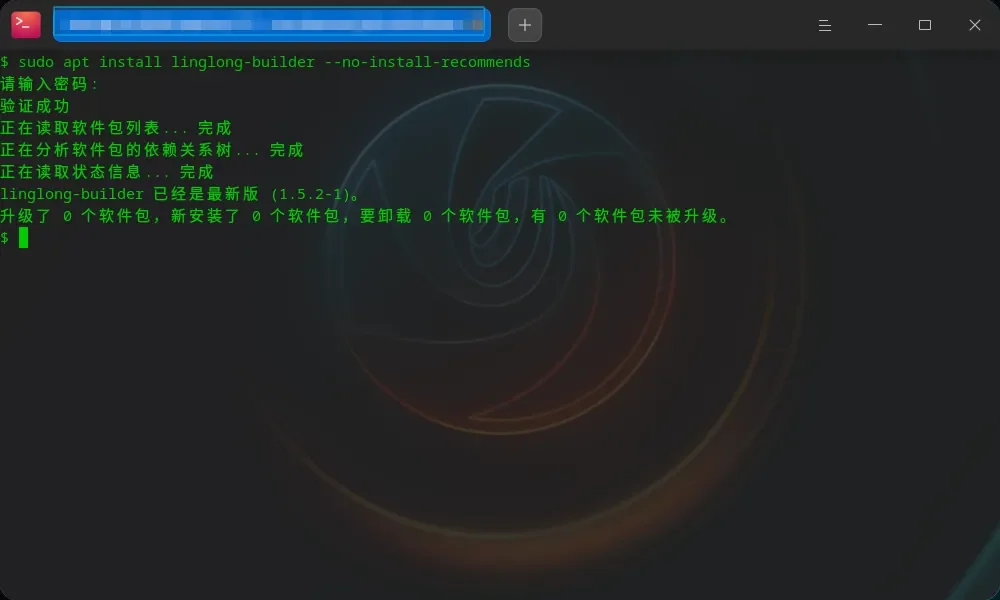
(Since there are many recommended installation dependencies, the recommended dependencies are skipped here and will not be installed. If necessary, remove the --no-install-recommends parameters)
Step 2: Create project
Since the Linyaps format application needs to be built from source code, it can be skipped ll-builder create Operation, no need to create the corresponding folder of Linyaps, write directly in the top directory of the project source code linglong.yaml file (you can use the complete file provided by the official website Template file )。
Step 3: Edit linglong.yaml
version:"1"    # linglong.yaml 文件语法的版本
package:    # 软件包元信息配置
id:com.github.desktop-entry-editor    # 软件包 appid,类似 deb 格式软件包包名,区分不同玲珑格式软件包
name:desktop-entry-editor    # 应用名称
version:1.4.6.1    # 软件包版本
kind:app    # 软件包类型,多数应用为 app,基础环境和运行时为 runtime
description:|    # 软件包描述
  desktop entry editor fo deepin os.
command:    # 容器内可执行程序启动命令
-/opt/apps/com.github.desktop-entry-editor/files/bin/desktop-entey-editor
base:org.deepin.foundation/23.0.0    # 基础环境
runtime:org.deepin.Runtime/23.0.1    # 运行时
source:    # 构建来源
kind: local    # 由于直接在工程源代码中构建,此处选择 local 即可,无需从 git 仓库拉取代码

build:|    # 构建
rm -rf build-linglong
mkdir -p build-linglong
qmake BUILD_VERSION=1.4.6 \
      PREFIX=${PREFIX} \
      LIB_INSTALL_DIR=${PREFIX}/lib/${TRIPLET} \
      INSTALL_ROOT=${PREFIX} \
      -spec linux-g++ CONFIG+=qtquickcompiler \
      -o build-linglong \
      desktop-entry-editor.pro

make -C build-linglong -j$(nproc)
make-C build-linglong -j$(nproc) install
Take linglong.yaml as an example. Just fill in the software package meta information as needed.
Since the project is relatively simple, it only requires basic Qt and Dtk environments to build. Use the base and runtime will do. For a more complex build environment, you can refer to the build calculator to pull the required dependency code before building the application and build the required dependencies first.
Understanding installation location "prefixes"
To understand in the way we are familiar with, generally executable files need to be placed in /usr/bin folder, which can only be found when the terminal tries to execute; .desktop file provides the entry point for startup. If you want to see the application icon in the launcher, you usually put it in /usr/share/applications folder; and the image files will be placed in /usr/share/icons Specific icon themes, sizes and classification folders in the folder. Among them, /usr is the prefix for the installation location of all files.
According to GNU coding standards, the default value of the prefix is generally /usr/local ; when building deb format software packages, generally use /usr prefix.
When the Linyaps container starts, the container content files folder Mount to /opt/apps/${appid} folder, so it can be approximately considered prefix for /opt/apps/${appid}/files . By analogy, the actual location of the executable file is /opt/apps/${appid}/files/bin/可执行文件名称 , so linglong.yaml middle command The startup command part also needs to be filled in like this, instead of the common /usr/bin/ Executable file name.
Check and modify project source code
Got it prefix concept, it is necessary to check the installation location prefix of the project source code. qmake In projects, the default installation location prefix is generally /opt/$${TARGET} folder, such as executable files are placed in /opt/$${TARGET}/bin folder. This may need to be modified .pro file, change the prefix to /opt/apps/${appid}/files folder to ensure that the file location is correct after the Linyaps container is started.
(or as shown in the build calculator, by qmake The parameters are passed in the installation location prefix from outside and are passed in .pro Parse in file ${PREFIX} to control file installation location. )
Step 4: Building applications
In the top-level directory of the project source code ( linglong.yaml Same level directory) Open the terminal and execute ll-builder build command.
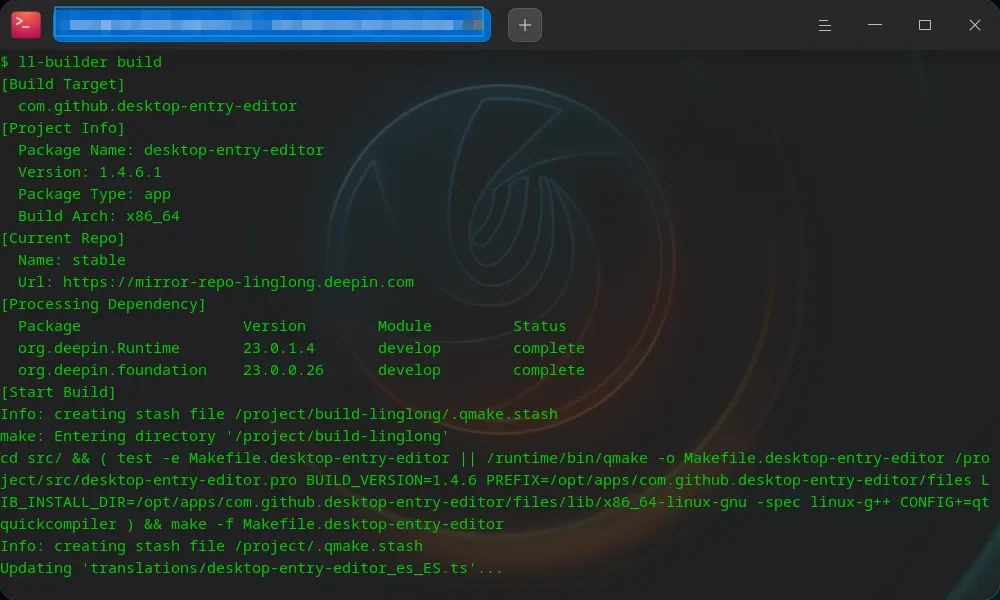
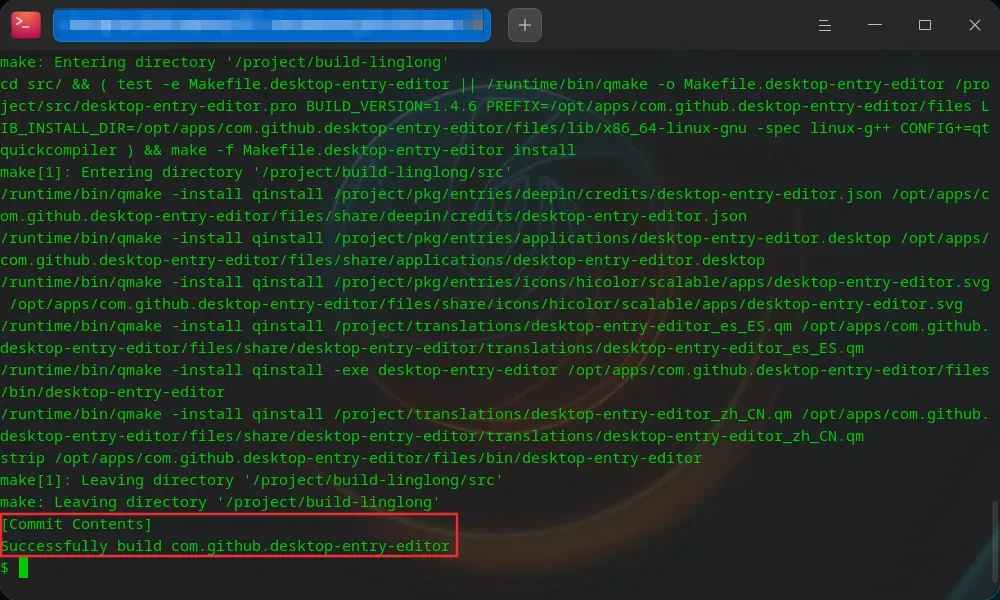
(You need to download the specified base and runtime , it takes a long time, you need to wait patiently)
Step 5: Test running application
In the top-level directory of the project source code ( linglong.yaml Same level directory) Open the terminal and execute ll-builder run --exec The name of the executable program, which can be used to test starting the application in the Linyaps container environment.
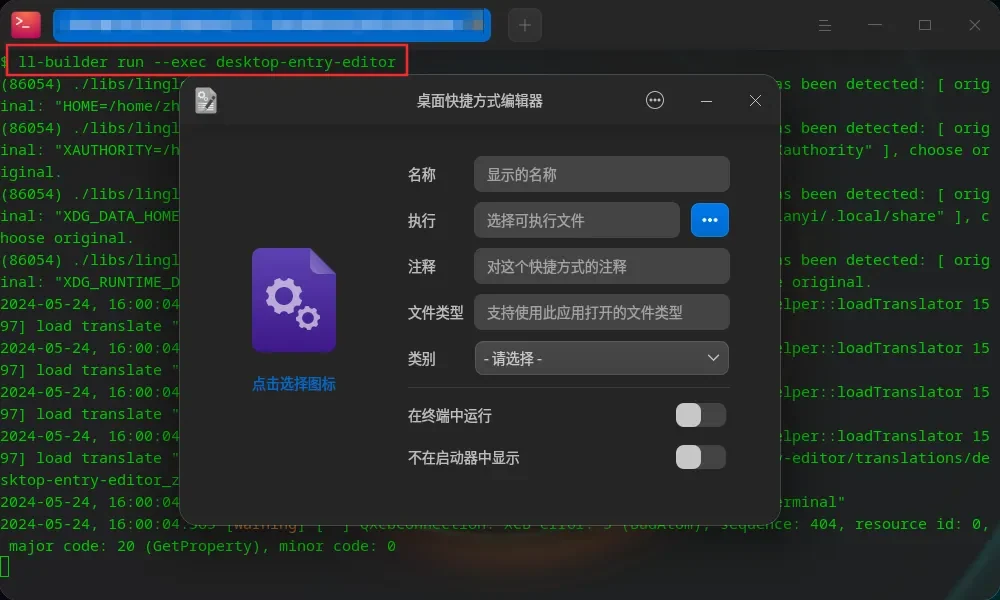
If the executable program cannot be found, please check whether the file installation location in the project source code is correct. You can check whether the executable file is generated in the linglong/output/runtime/files/bin folder in the top directory of the project.
If starting the application fails, refer to the documentation to debug within the container.
Step 6: Export layer file
In the top-level directory of the project source code ( linglong.yaml Same level directory) Open the terminal and execute ll-builder export command, which can be generated in the directory ${appid}_${version}_${arch}_develop.layer and ${appid}_${version}_${arch}runtime.layer document.
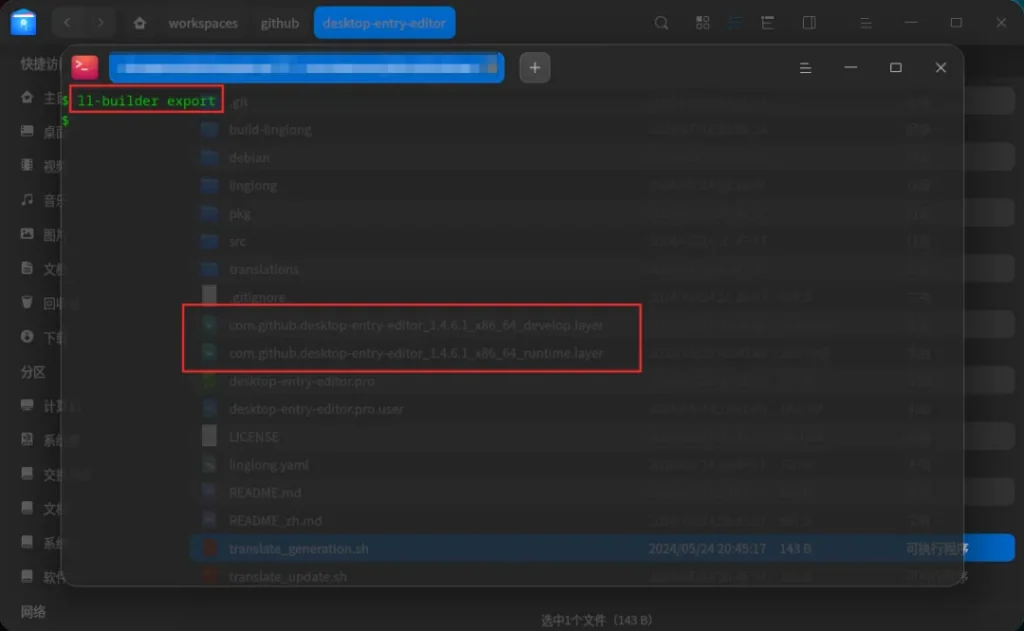
Step 7: Test try Installation layer Documentation
In the top-level directory of the project source code ( linglong.yaml Same level directory) Open the terminal and enter ll-cli install and enter spaces to separate the runtime.layer Drag the file into the terminal, press Enter to execute, and layer files are installed into the local Linyaps environment.
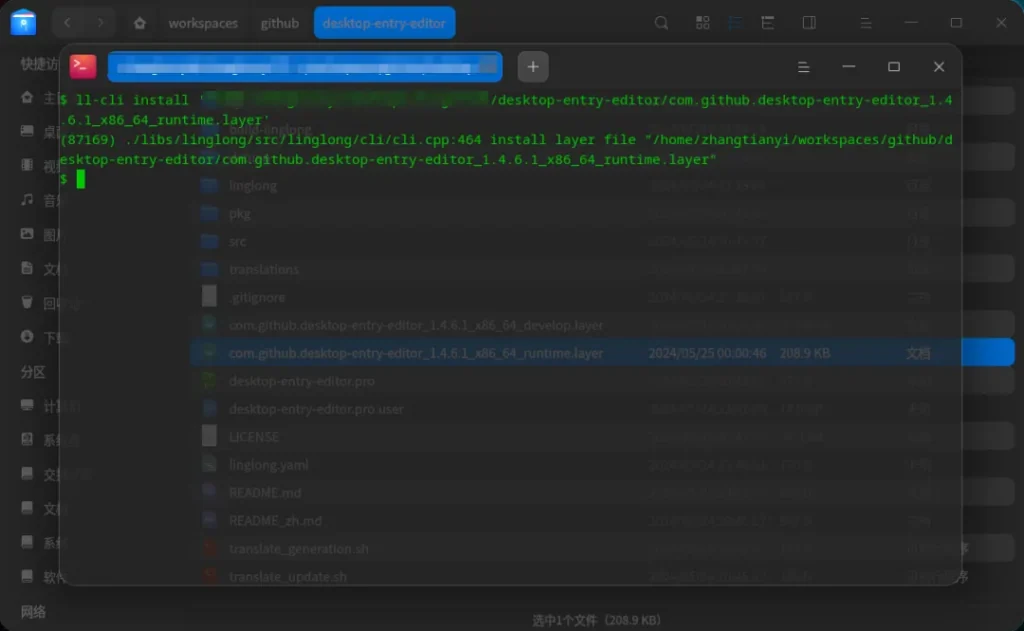
After successful installation, you should be able to see the app in the launcher and test it to launch and use.
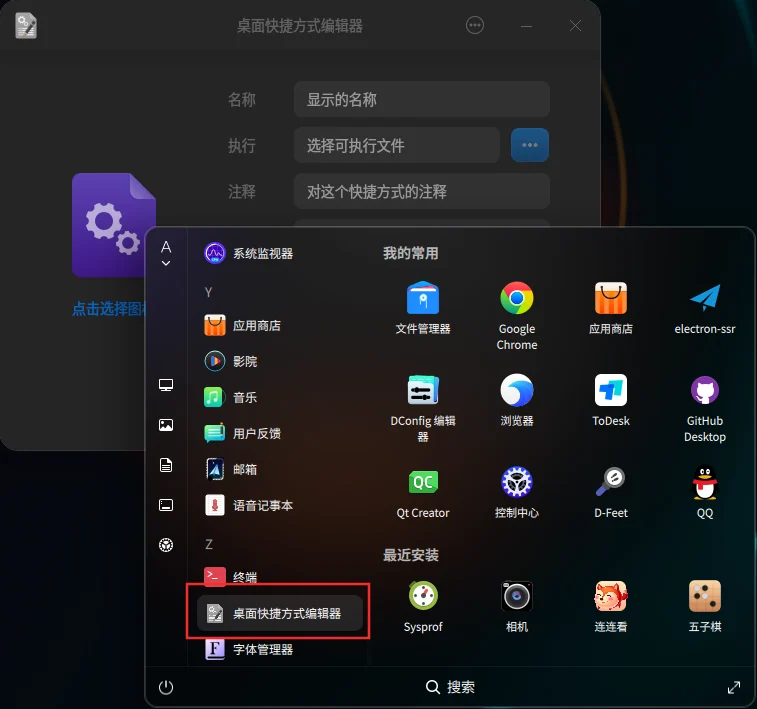
If the application cannot be found in the launcher, please check whether the file installation location in the project source code is correct. Can be viewed in the top-level directory of the project linglong/output/runtime/entries/share/applications Whether generated in the folder .desktop document.
If there is a startup failure, you can check the corresponding .desktop file and copy the Exec field content to the terminal for execution, and observe the startup output log. If it prompts that the corresponding version of Linyaps is missing base or runtime environment, need to be executed manually ll-cli install 环境名称/版本号 Perform installation to troubleshoot (e.g. ll-cli install org.deepin.Runtime/23.0.1)。
Summary
At this point, building the Linyaps format application from source code has been completed.
Project usage examples in this article qmake Build, dependencies are simple, and support external input during build ${PREFIX} Setting the file installation location and building an application in Linyaps format is very simple. If the project uses cmake or other tools to build, similarly you need to modify the installation prefix in the project, or in linglong.yaml Pass in parameters for setting in the build part. Otherwise, even if the build is successful, there will be various problems such as the executable file cannot be found in the container, or there will be no icon in the launcher after installation.
English edition: Linglong editorial · 18 October 2026. Original publication: 2024-06-27.